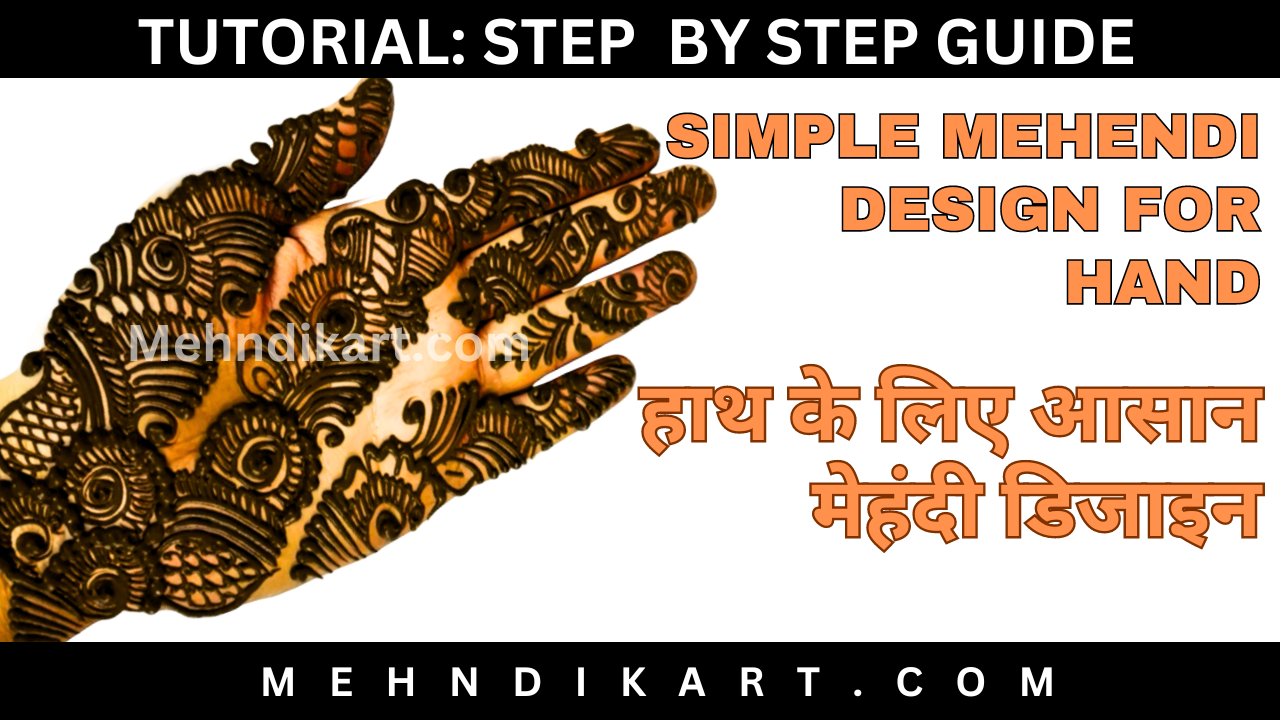
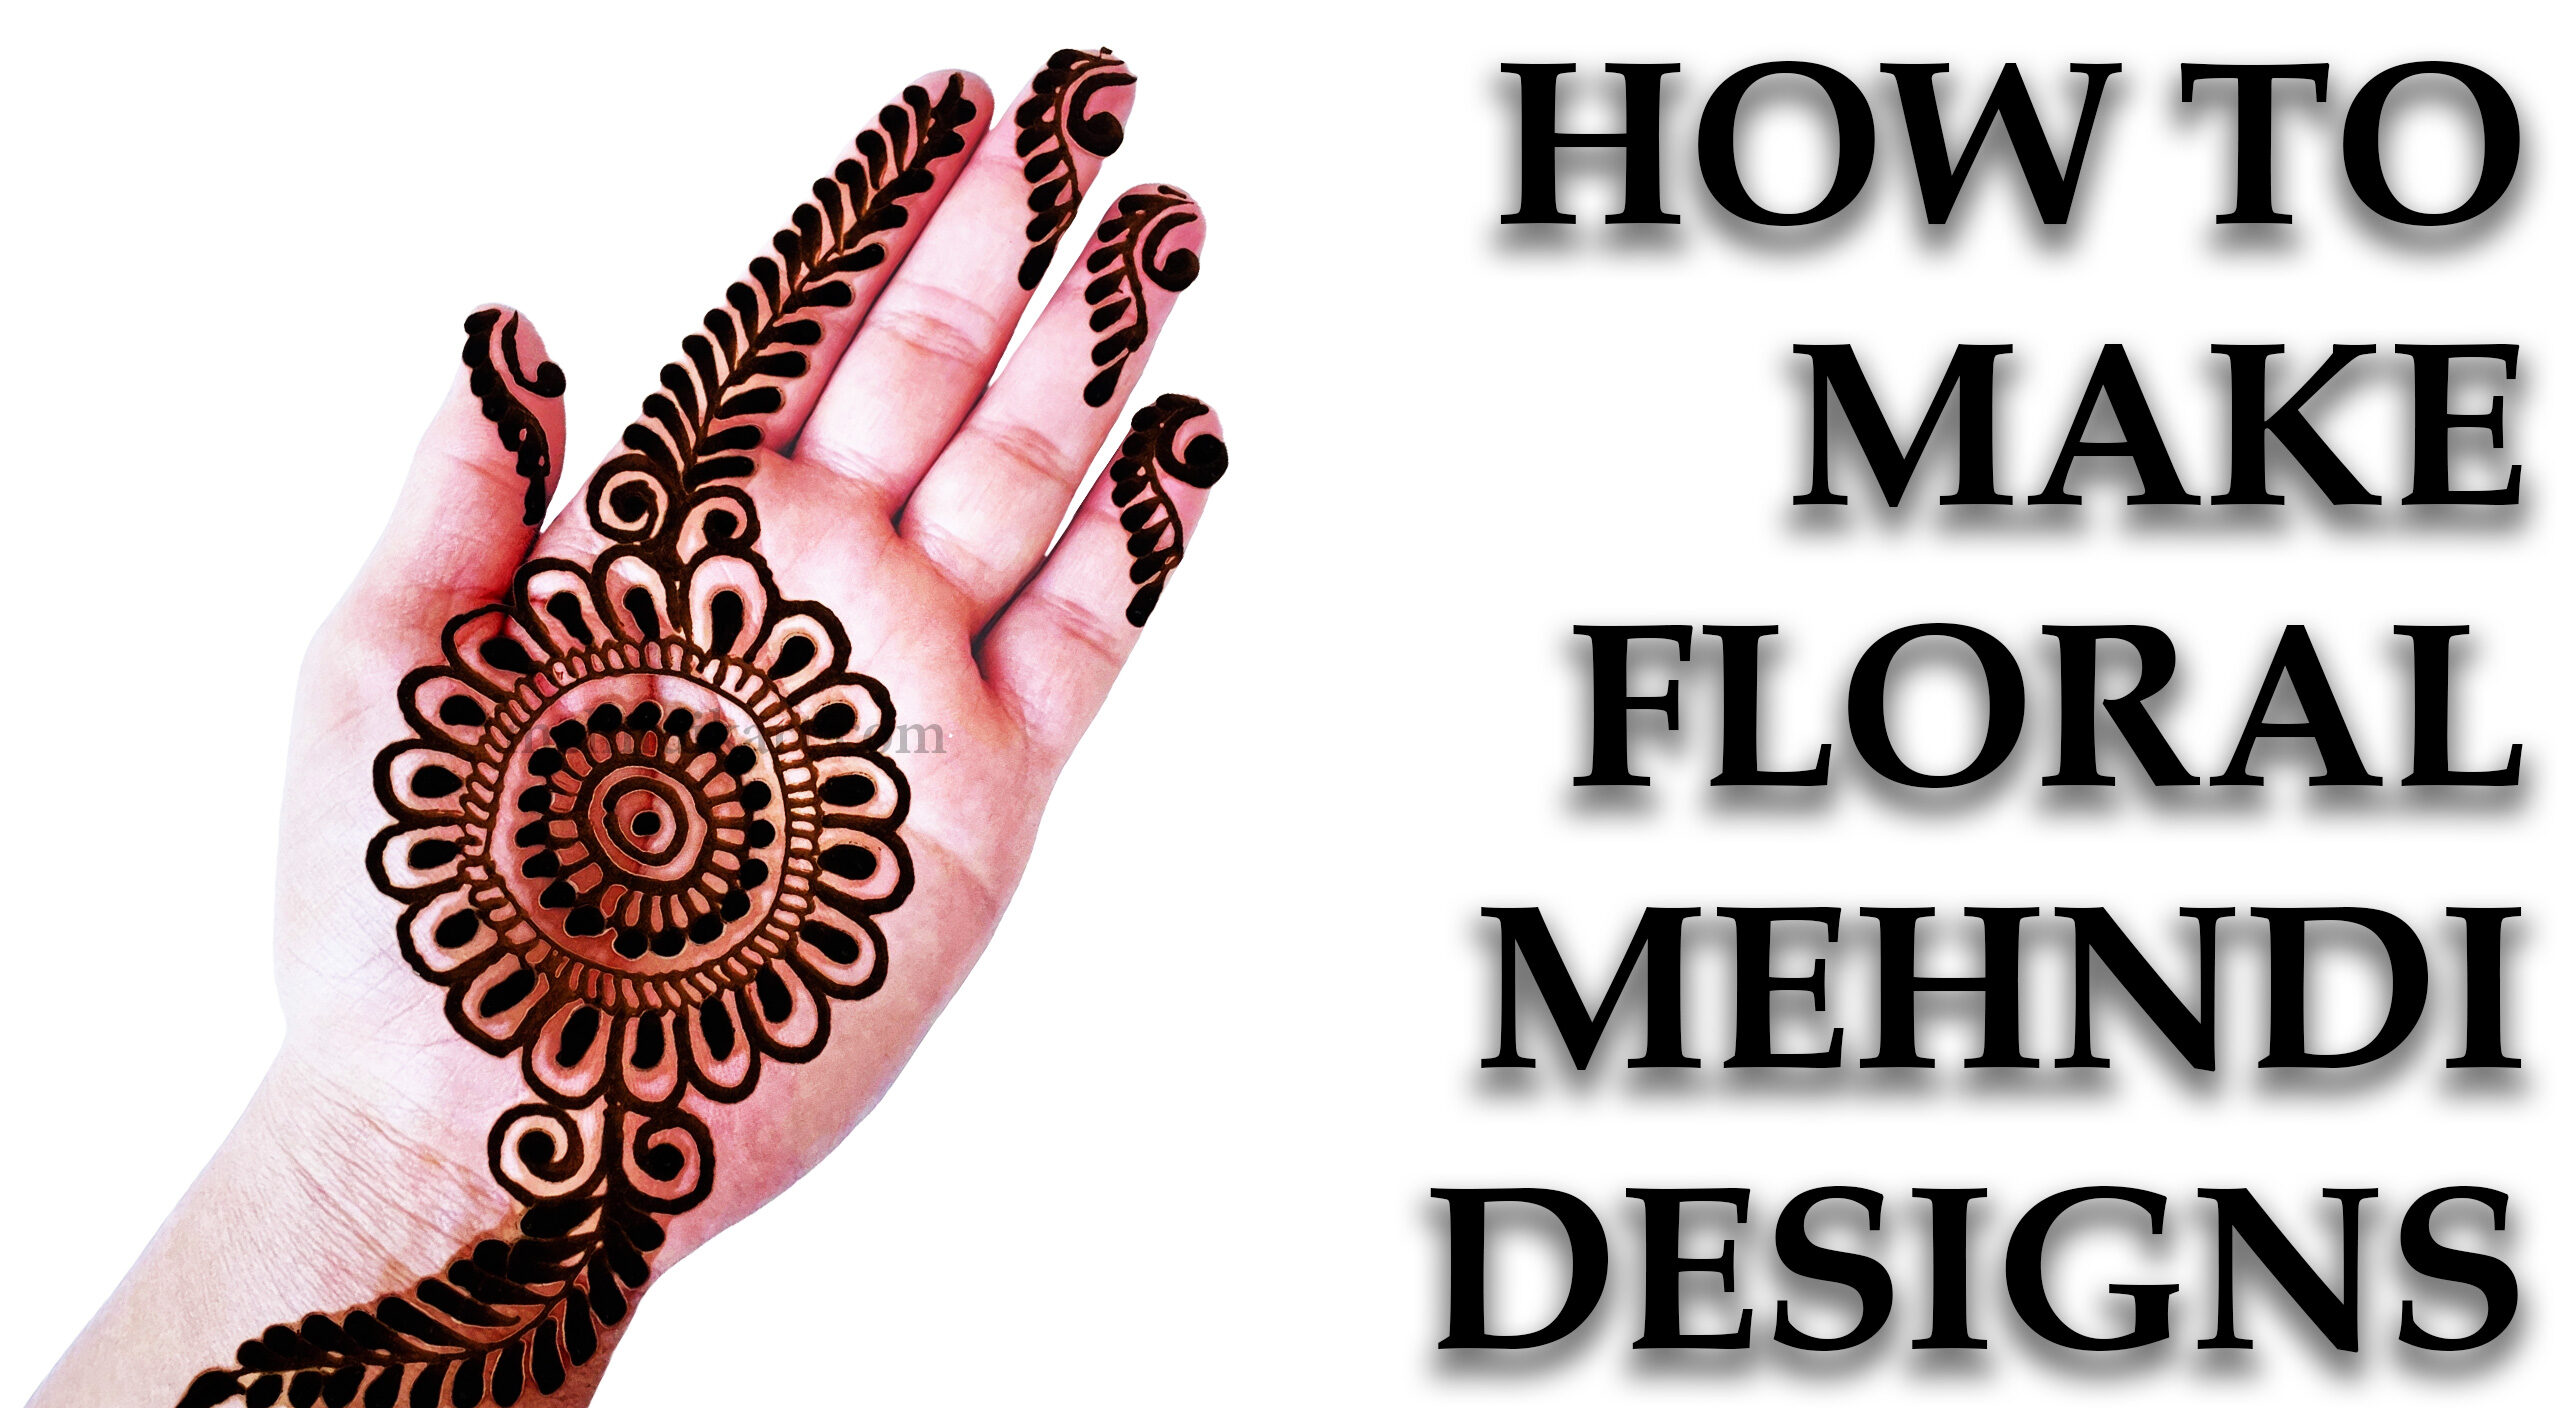
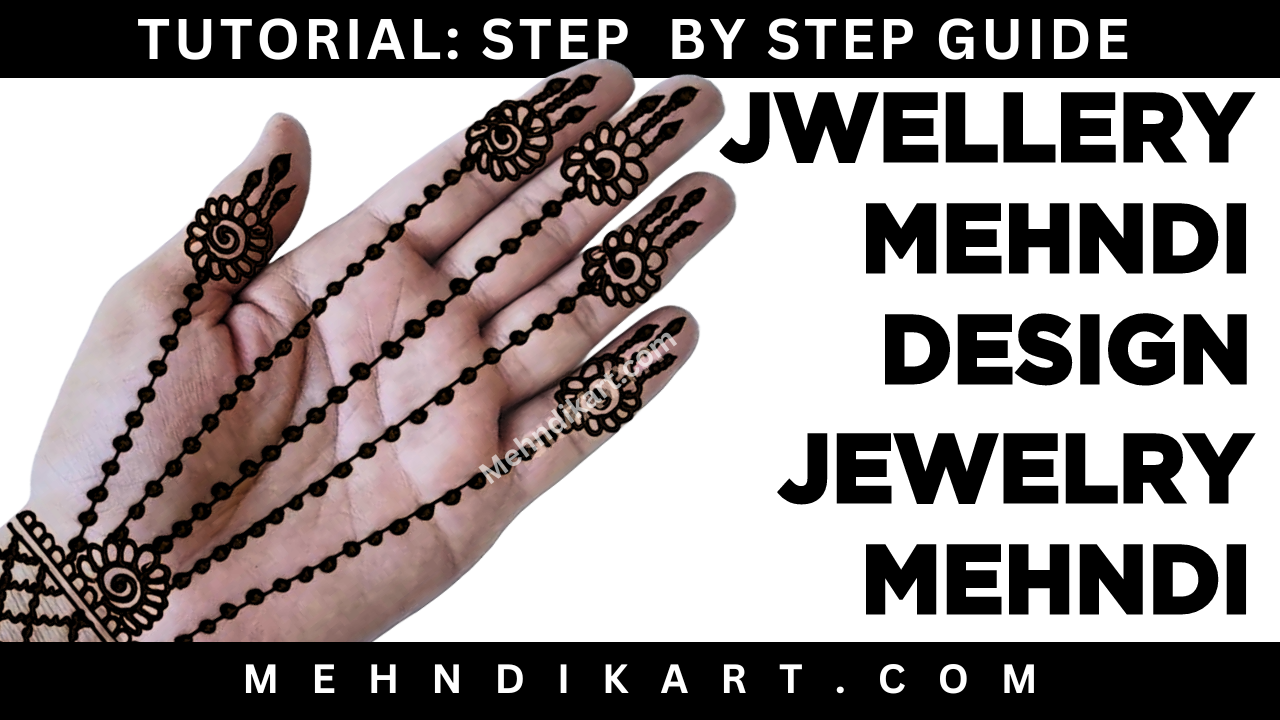
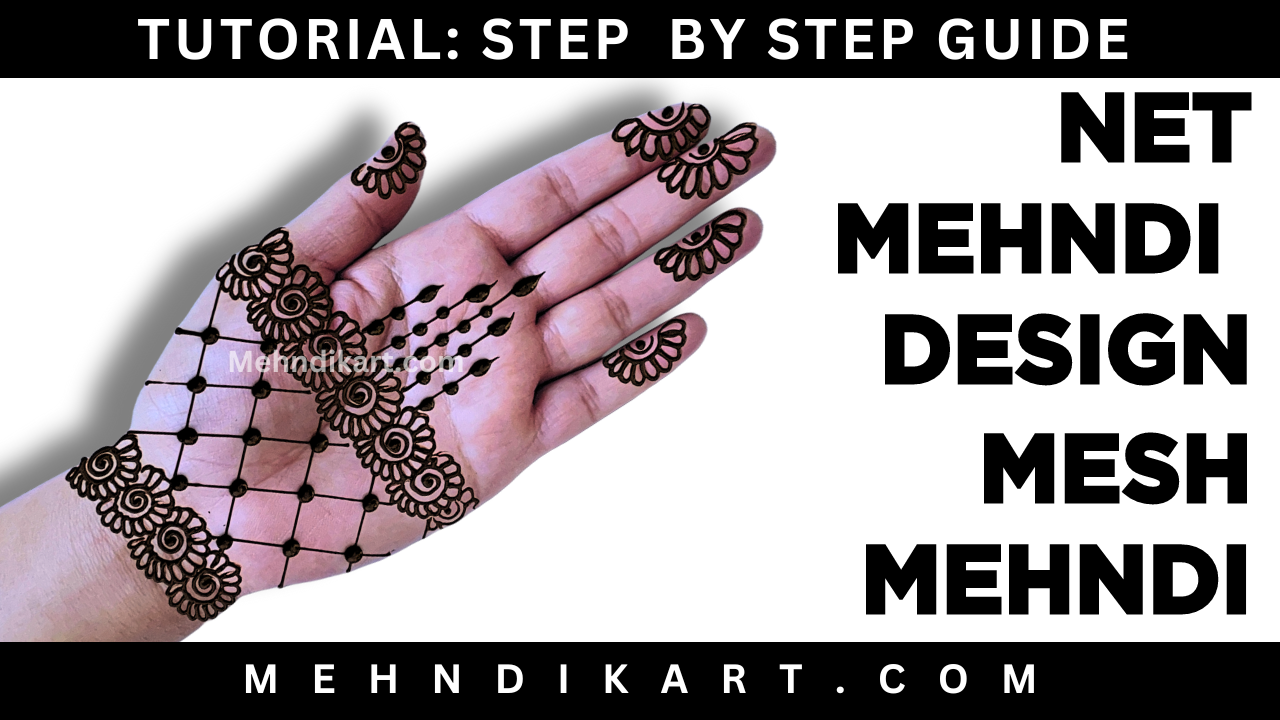
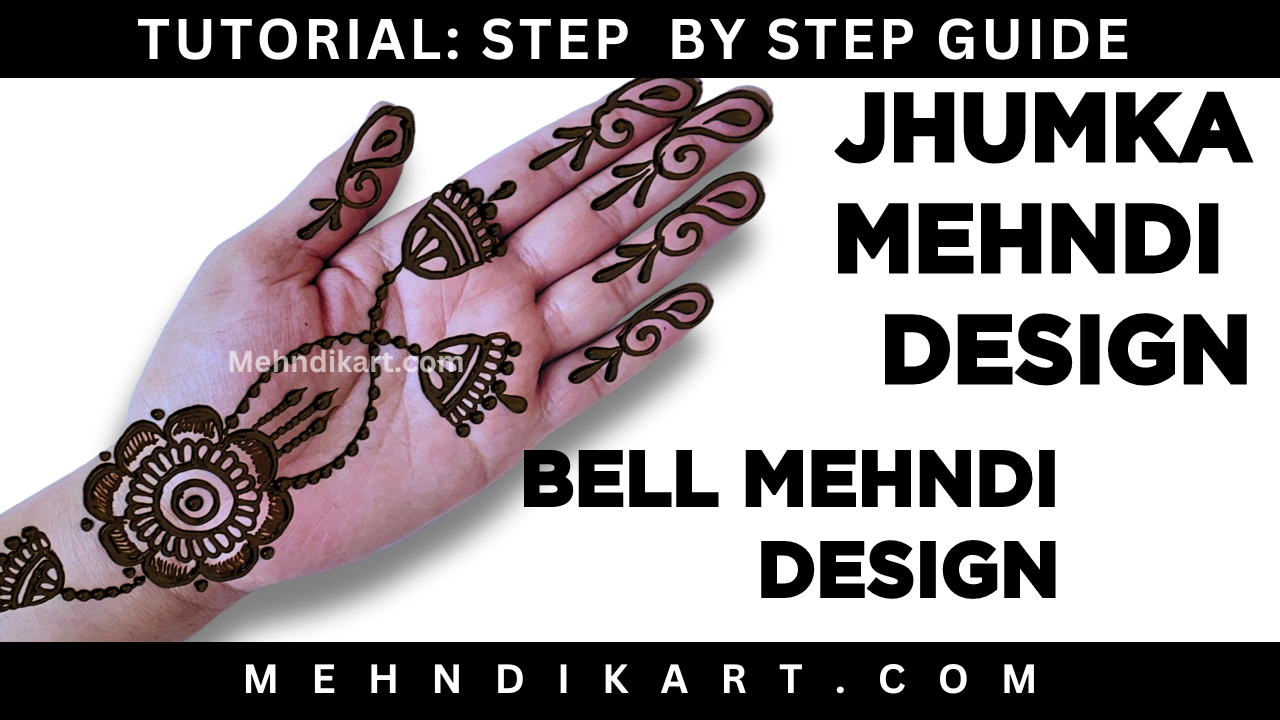
Creating an elegant Bel Mehndi design for your hands is a delightful way to adorn yourself for various occasions. The intricate patterns and graceful motifs make it a popular choice for cultural celebrations and festivities. In this tutorial, we will guide you through the process of making a simple yet elegant Bel Mehndi design, providing step-by-step instructions and additional tips for a flawless application.
Design Elements:
Bel Mehndi designs often feature traditional Indian motifs and patterns. Here are some key elements you can incorporate into your design:
- Paisley Patterns: Start by incorporating paisley patterns, a classic element in Bel Mehndi designs, to add a touch of tradition and elegance.
- Intricate Lines and Dots: Use fine lines and dots to create intricate detailing within the design. This will enhance the overall look and make your Bel Mehndi design stand out.
- Leafy Patterns: Integrate leafy patterns into your design, creating a natural and harmonious flow. These can be used to connect different elements of the design.
Best Occasions for Bel Mehndi Design:
Bel Mehndi designs are versatile and suitable for various occasions. Here are some events where you can flaunt your elegant Bel Mehndi design:
- Festivals: Celebrate festivals like Diwali and Holi with a beautiful Bel Mehndi design that reflects the joyous spirit of the occasion.
- Weddings and Engagements: Adorn your hands with Bel Mehndi for weddings and engagement ceremonies, adding a touch of cultural richness to your overall look.
- Family Celebrations: Whether it’s a family gathering or a special celebration, Bel Mehndi designs are perfect for expressing tradition and style.
Video Tutorial: Simple Trendy Mehndi Design
How to Prepare Bel Mehndi Design:
- Gather Your Supplies: Collect fresh henna paste, a plastic cone or applicator bottle, lemon juice, eucalyptus oil, plastic wrap, cotton balls, and paper towels.
- Create the Henna Paste: Mix the henna powder with lemon juice or a lemon juice-water mixture to create a smooth, thick paste. Allow it to rest for 3-4 hours to achieve optimal consistency.
Things Required for Bel Mehndi Design:
- Henna powder
- Lemon juice
- Plastic cone or applicator bottle
- Plastic wrap
- Cotton balls
- Paper towels
How to Apply Bel Mehndi Design:
- Clean the Skin: Begin with clean, dry skin to ensure better adhesion of the mehndi.
- Design Application: Use the applicator to create the Bel Mehndi design, starting with the central motifs and expanding outward. Incorporate paisley patterns, intricate lines, dots, and leafy designs for a complete look.
- Drying and Sealing: Allow the mehndi to dry naturally for 2-4 hours. Optionally, you can seal it with a sugar syrup solution to enhance the color.
- Scrape Off: Gently scrape off the dried henna paste, avoiding water contact for at least 12 hours to allow the stain to set.
- Post-Care: Maintain the vibrancy of the mehndi by protecting it from excessive water exposure. Apply natural oils or balms for added care.
Summary:
Bel Mehndi designs offer a perfect blend of tradition and elegance, making them ideal for various celebrations. Follow the step-by-step guide to prepare and apply your Bel Mehndi design, and enjoy the rich cultural beauty it adds to your hands. For more inspiration and a detailed tutorial, refer to the embedded video below from our partner YouTube channel. Bel Mehndi design is a timeless art form that enhances the grace of any special occasion.


