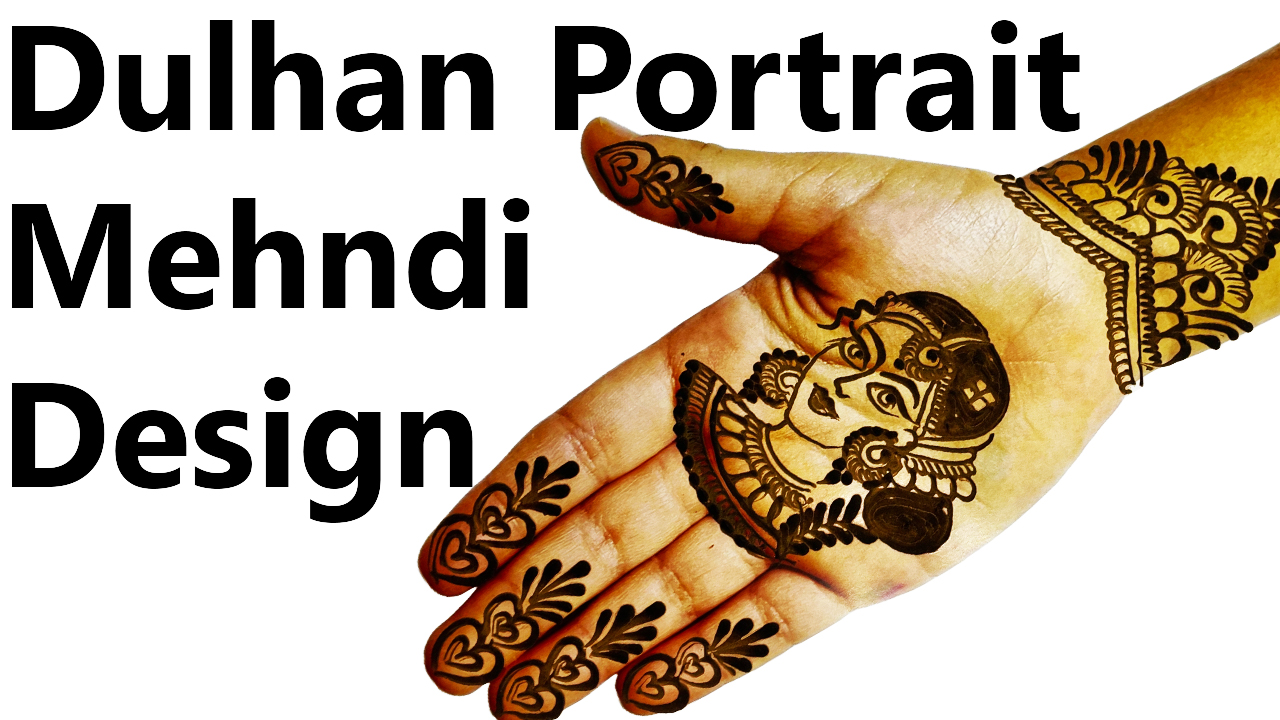
Bridal mehndi with a bride’s photo is a unique and personalized way to enhance the beauty of henna art for weddings. This article will guide you through the process of creating bridal mehndi using cones and incorporating the bride’s photo into the design. Let’s dive into the step-by-step process to achieve a stunning and memorable bridal mehndi look.
Choosing the Bride’s Photo for Front Hand Mehndi:
- Select a Clear Photo: Choose a high-resolution photo of the bride that captures her facial features and any unique details you want to incorporate into the mehndi design.
- Print the Photo: Print the selected photo in the desired size, ensuring it fits well within the mehndi design area on the hands or other chosen body parts.
Preparing the Mehndi Cones:
- Gather Your Supplies: You’ll need fresh henna paste, cones, a plastic wrap, cotton balls, and paper towels.
- Create the Henna Paste: Mix the henna powder with an appropriate amount of water to form a smooth, thick paste. Allow it to rest for a few hours until it achieves the right consistency.
- Loading the Cones: Fill the mehndi cones with the prepared henna paste, ensuring a steady and even flow for intricate designs.
Things Required for Bridal Mehndi with Bride Photo:
- Henna powder
- Water
- Cones
- Plastic wrap
- Cotton balls
- Paper towels
Applying Bridal Mehndi:
- Clean the Skin: Begin with clean, dry skin to ensure better adherence of the mehndi.
- Design Application: Start by applying a base layer of henna on the chosen area. Carefully place the bride’s photo on the wet henna, securing it in place.
- Trace the Photo: Using the mehndi cone, trace the outlines of the bride’s features, such as her eyes, nose, and lips. Extend the design with traditional bridal mehndi patterns.
- Incorporate Bridal Motifs: Integrate classic bridal motifs, such as flowers, paisleys, and intricate patterns, around the bride’s photo for a cohesive look.
- Drying and Sealing: Allow the mehndi to dry naturally for 2-4 hours. Optionally, seal it with a sugar syrup solution to enhance the color and longevity of the design.
- Scrape Off: Gently scrape off the dried henna paste, avoiding water contact for at least 12 hours to allow the stain to set.
- Post-Care: Maintain the vibrancy of the mehndi by protecting it from excessive water exposure and applying natural oils or balms.
Video Tutorial: How to Make Bridal Mehndi with Bride Face:
Summary for Bridal Mehndi with Bride Face:
Bridal mehndi with a bride’s photo is a personalized and memorable way to celebrate weddings. Follow the steps outlined above to create a stunning design using mehndi cones. Incorporate the bride’s photo seamlessly into the traditional bridal mehndi patterns for a unique and meaningful look. For additional guidance and inspiration, refer to the embedded video tutorial from our partner YouTube channel below. Bridal mehndi with a bride’s photo is a beautiful art form that adds a special touch to the joyous occasion of a wedding.
