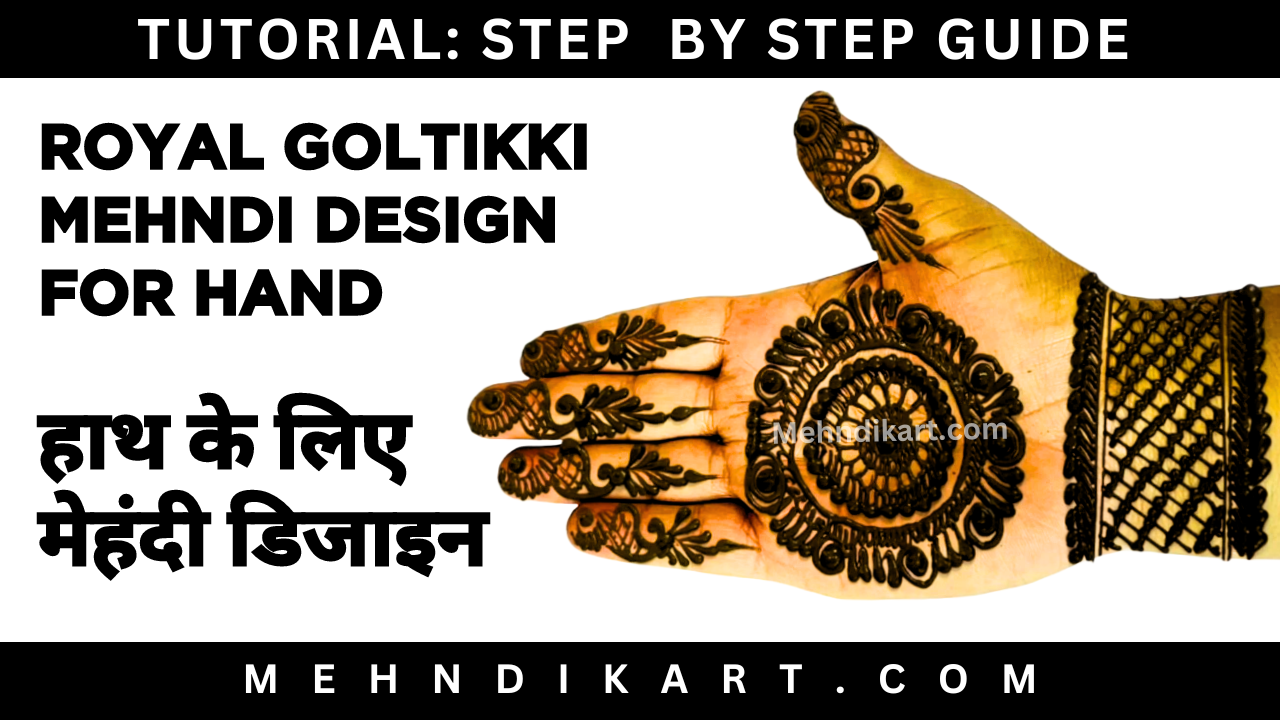
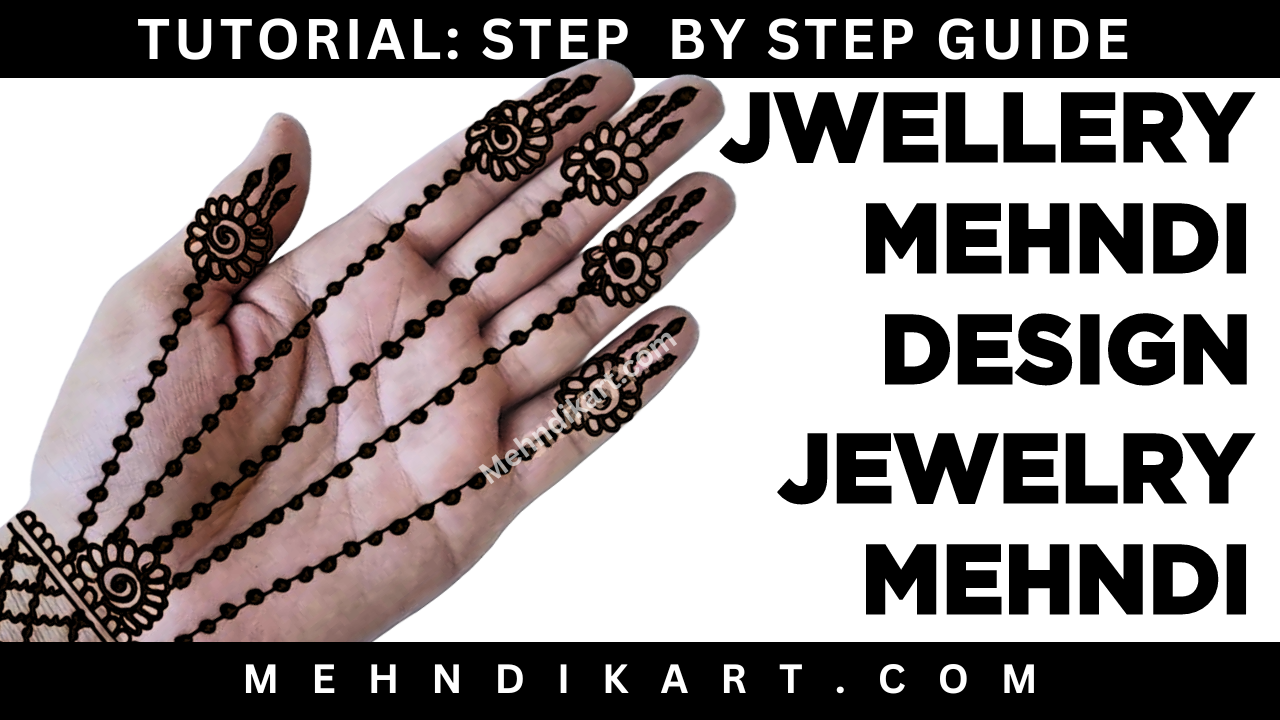
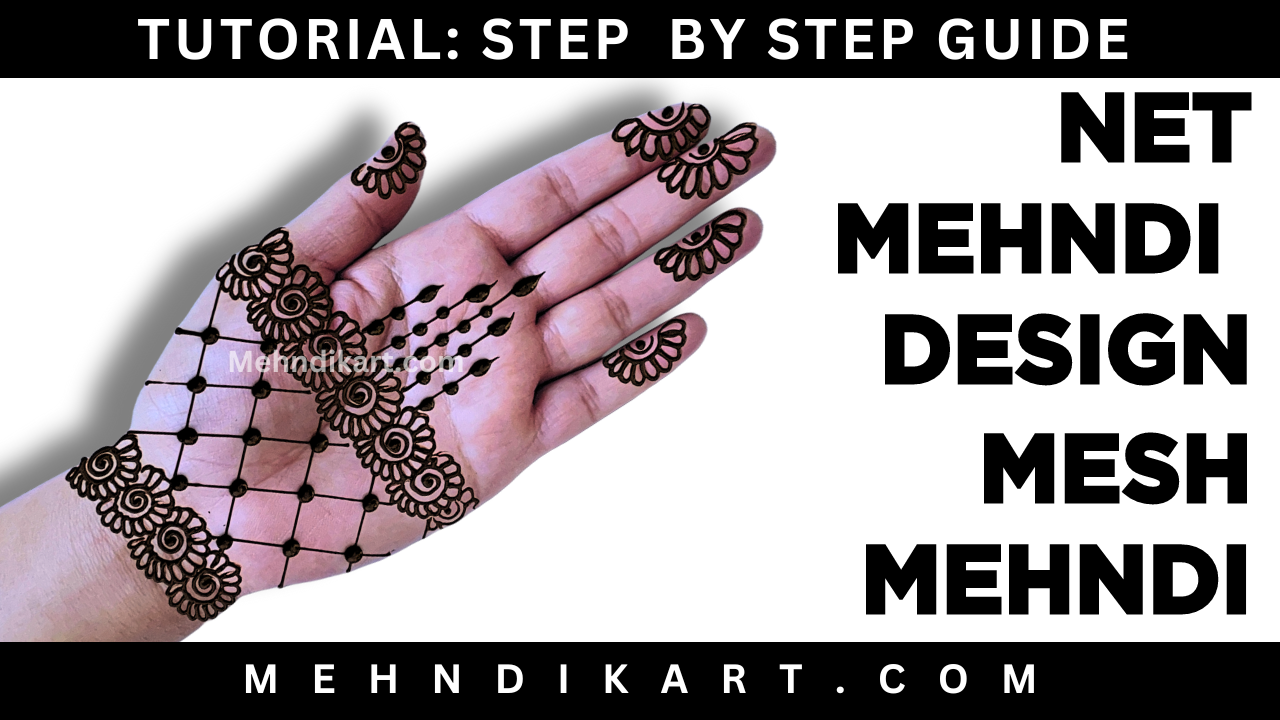
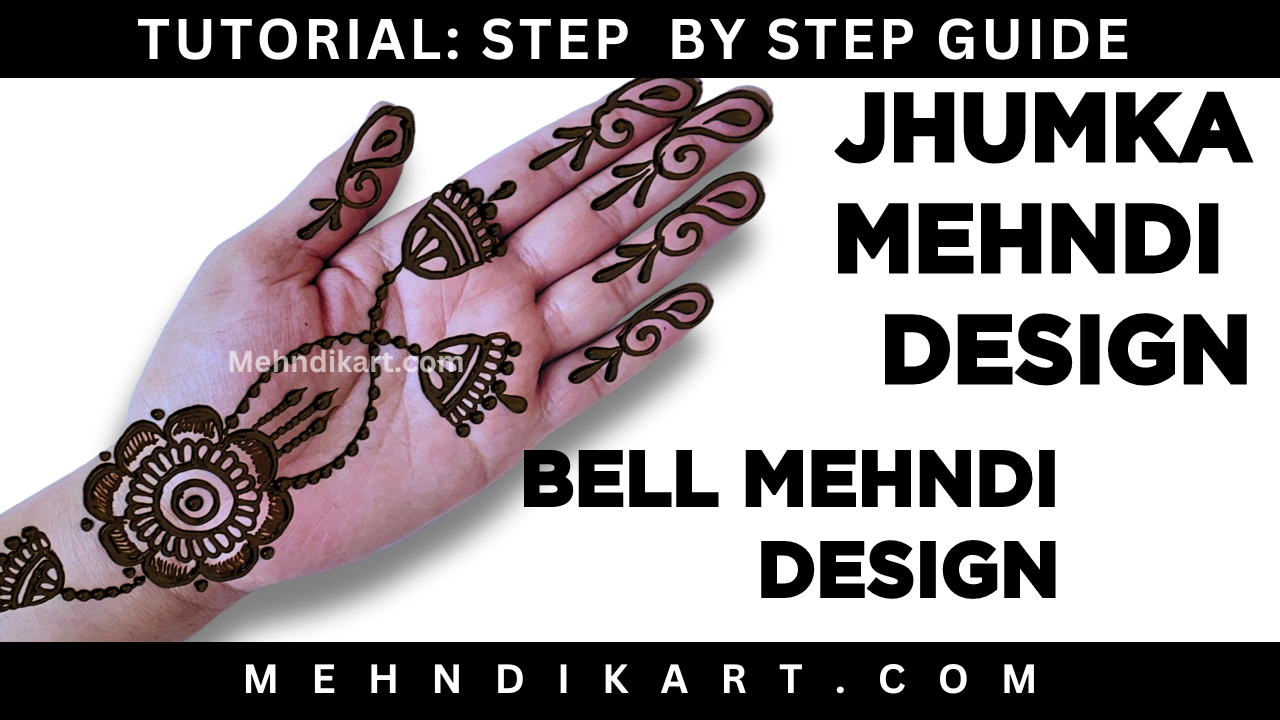
Goltikki mehndi design is a delightful and intricate choice that brings a touch of charm to your hands. It’s a mehndi art form that embraces the elegance of Goltikki patterns, creating a mesmerizing design. In this article, we’ll delve into the art of crafting a Goltikki mehndi design, offering a step-by-step tutorial for an easy yet elegant look.
Design Elements:
- Circular Patterns: Start by creating small, circular Goltikki patterns on the palm and fingers for a classic look.
- Intricate Lines: Connect the Goltikki patterns with delicate lines to form a cohesive and elaborate design.
- Fingertip Accents: Highlight the fingertips with additional Goltikki details for a polished and elegant finish.
Best Occasion for Goltikki Mehndi Design:
Goltikki mehndi designs are versatile and suitable for various occasions. They are particularly well-suited for:
- Festivals: Celebrate festivals with the intricate beauty of Goltikki mehndi, enhancing the joyous atmosphere.
- Family Functions: Add a touch of sophistication to family gatherings and celebrations with this timeless design.
- Casual Events: For a subtle yet stylish look, Goltikki mehndi is perfect for casual outings and get-togethers.
Complimentary Jewelry:
Enhance your Goltikki mehndi design with the right jewelry to complete your overall look. Consider:
- Statement Rings: Bold rings complement the intricate patterns on your fingers, adding a touch of glamour.
- Hand Chains: Delicate hand chains that drape over your hand beautifully accentuate the Goltikki design.
Bracelets: Choose bracelets with intricate Goltikki-inspired motifs to match your hand mehndi.
Video Tutorial for Goltikki Mehndi Design:
How to Prepare Goltikki Mehndi Design:
Gather your supplies before starting the Goltikki mehndi application. You’ll need:
- Fresh henna paste
- Applicator cone or bottle
- Lemon juice
- Essential oil (e.g., eucalyptus oil)
- Plastic wrap
- Cotton balls
- Paper towels
Application Process:
- Cleanse the Skin: Begin with clean, dry skin to ensure optimal adherence of the mehndi.
- Design Application: Use the applicator to carefully create Goltikki patterns, starting from the center and expanding outward.
- Drying Time: Allow the mehndi to naturally dry for 2-4 hours, ensuring it sets properly.
- Seal the Design: Optionally, seal the mehndi with a sugar syrup solution for enhanced color and longevity.
- Scrape Off: Gently scrape off the dried henna paste, avoiding water contact for at least 12 hours to let the stain develop.
- Aftercare: Protect your Goltikki mehndi from excessive water exposure and apply natural oils or balms for longevity.
Summary:
Goltikki mehndi designs bring a touch of sophistication and charm to various occasions. Create your own stunning design by following our step-by-step tutorial and gather the necessary supplies. Pair your Goltikki mehndi with complementary jewelry for a complete and elegant look. For a detailed visual guide, watch the embedded tutorial video from our partner YouTube channel below. Goltikki mehndi is a timeless art form that adds grace and beauty to your hands, making any moment special.


